- by amy
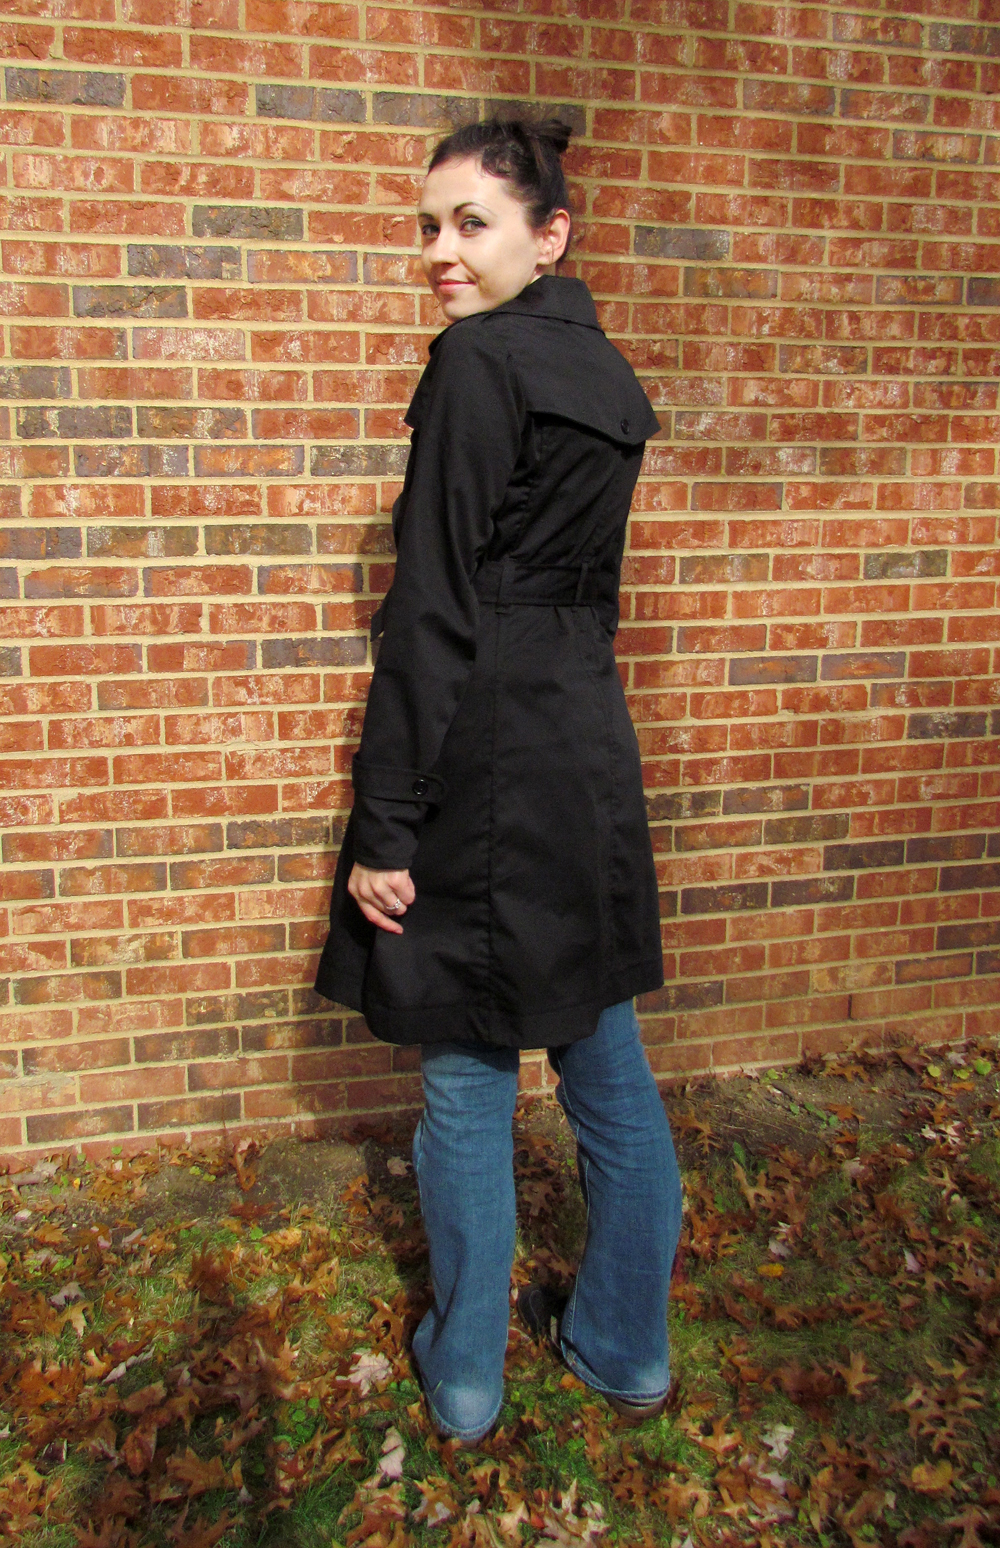
I made something for me this time – the Sewaholic Robson Coat! I’ve had this pattern in my stash for well over a year and kept telling myself I would get around to it one day. I honestly was intimidated by the pattern, it has so much detail and coats are notorious for taking a long time to make. But when it came time to pick out my kits for the Minerva Crafts Blogger Network I decided this was the perfect time to finally make this. The good thing about being a part of this blogger network is that it helps motivate me to complete a garment within a deadline. I won’t lie, I’m typically a day (or three) late on the deadline but overall that’s a big accomplishment since little Mr. Nico takes up 99.9% of my time 😉
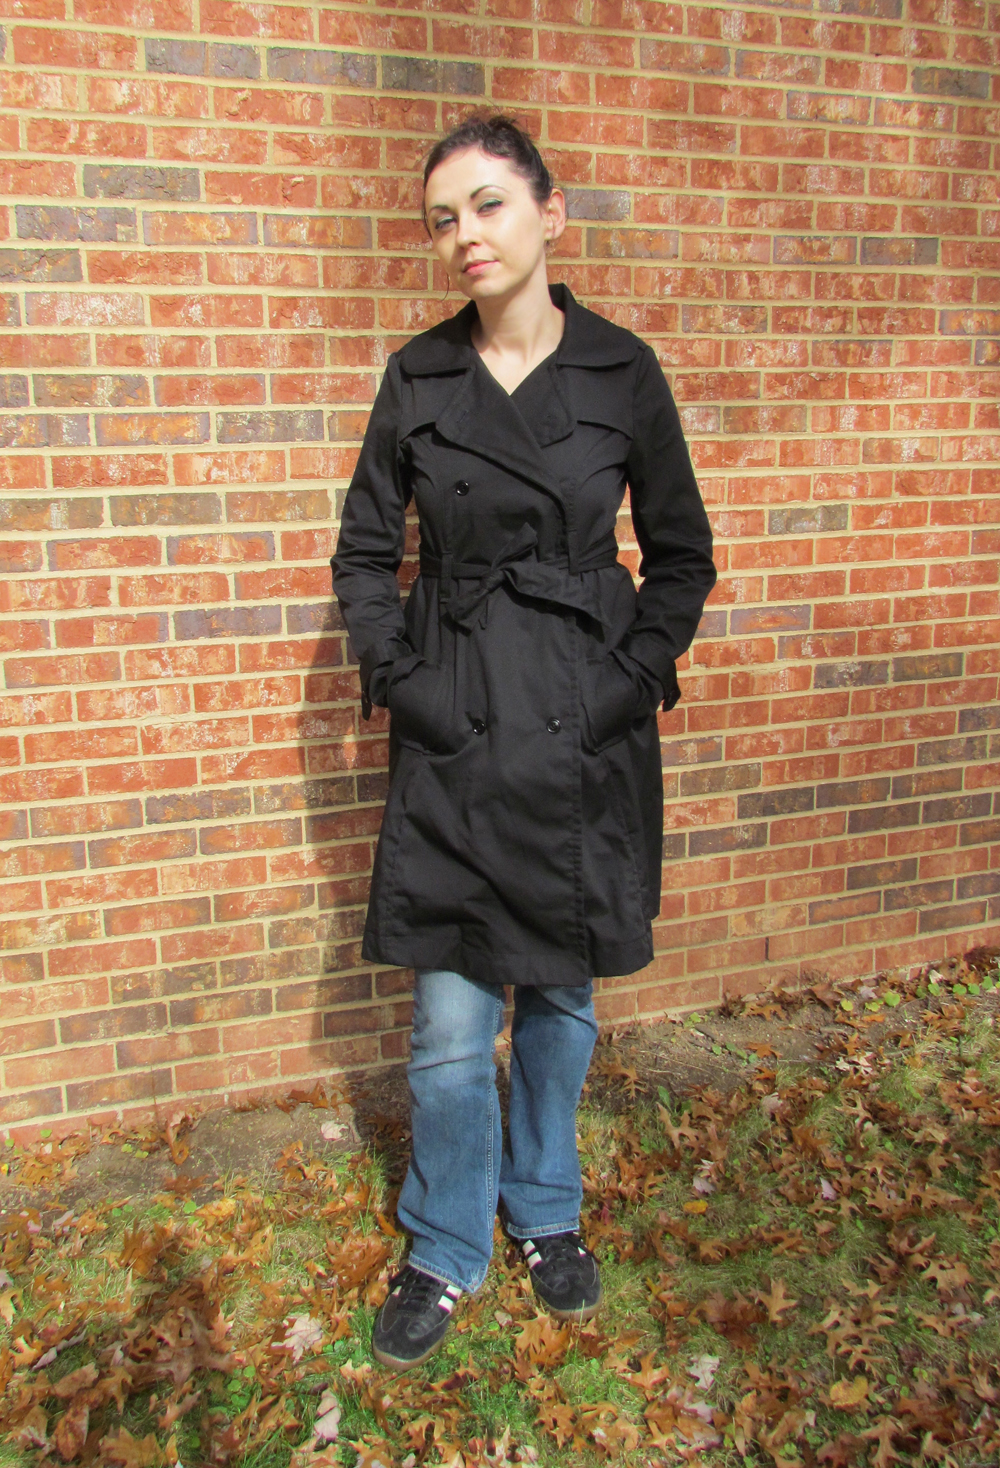
I started making this at the very end of August. At the time my measurements were: 37-32-40 1/2. Now, I like my coats to be a little tight and fitted so I tend to size down a bit. I picked a size 8, which is 34 1/2-28 1/2-40 1/2 on the pattern. Keep in mind that Sewaholic Patterns are for pear shaped women – which I am. Based on my measurements I should have picked a size 10 or 12 but I went with an 8 based entirely on the finished measurements. For an 8 the finished measurements are: 37 1/2-37 1/2-49 1/2. Overall I think the size I picked was good. Next time I might pick a little larger for the bust so I can wear sweaters underneath the coat. I don’t mind it a little snug because this is more of a fall/spring coat for me, so I won’t be wearing heavy clothes underneath it.
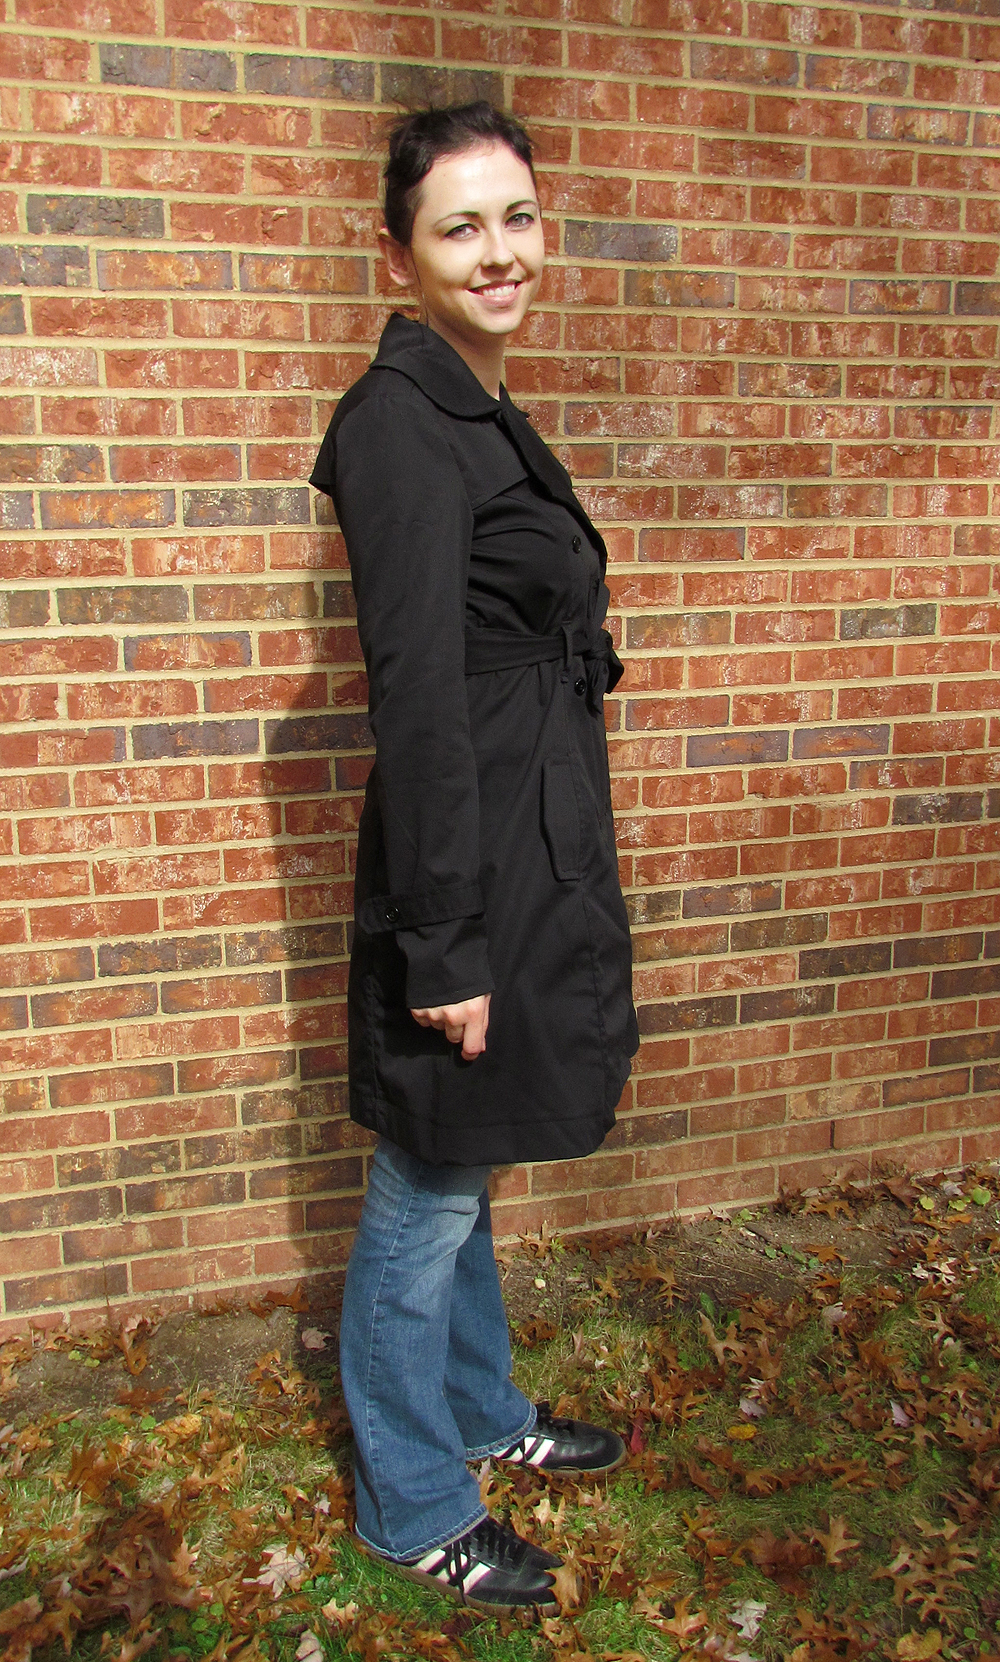
The only alterations I made were adding 1″ to the sleeves and changing how I did the hem. I like my sleeves to be stupid long because I have monkey arms. I honestly got super confused with the hem, so maybe I sorta did it right? Maybe I didn’t? Typically Sewaholic has these KILLER sew-a-long tutorials and Tasia answers every question you might have in those. But for the Robson she didn’t do the tutorial, instead Sew News did it. While Sew News did a good job, I felt like it wasn’t as in depth as Tasia’s. So I’ll post my issues here, maybe I’m just a dingbat and something was obvious but I didn’t get it – let me know in the comments if you had the same issue.

The picture above shows the pattern piece I had issues with – #1 Front and then the right side shows the instructions of what to do. See the notch on the bottom of piece 1? That’s where I got all confused. That top notch 1″ higher than the bottom hemline. The directions say to topstitch 1″ from the hem, but with the notch taken out that means I would have to fold that part up a little over 1″ so the topstitching would catch it and keep it in place. That also means the rest of the hem would be folded up over 2″ but topstitched at a little over 1″. I thought that the rest of the hem (and here the biased tape is) would lay weird.
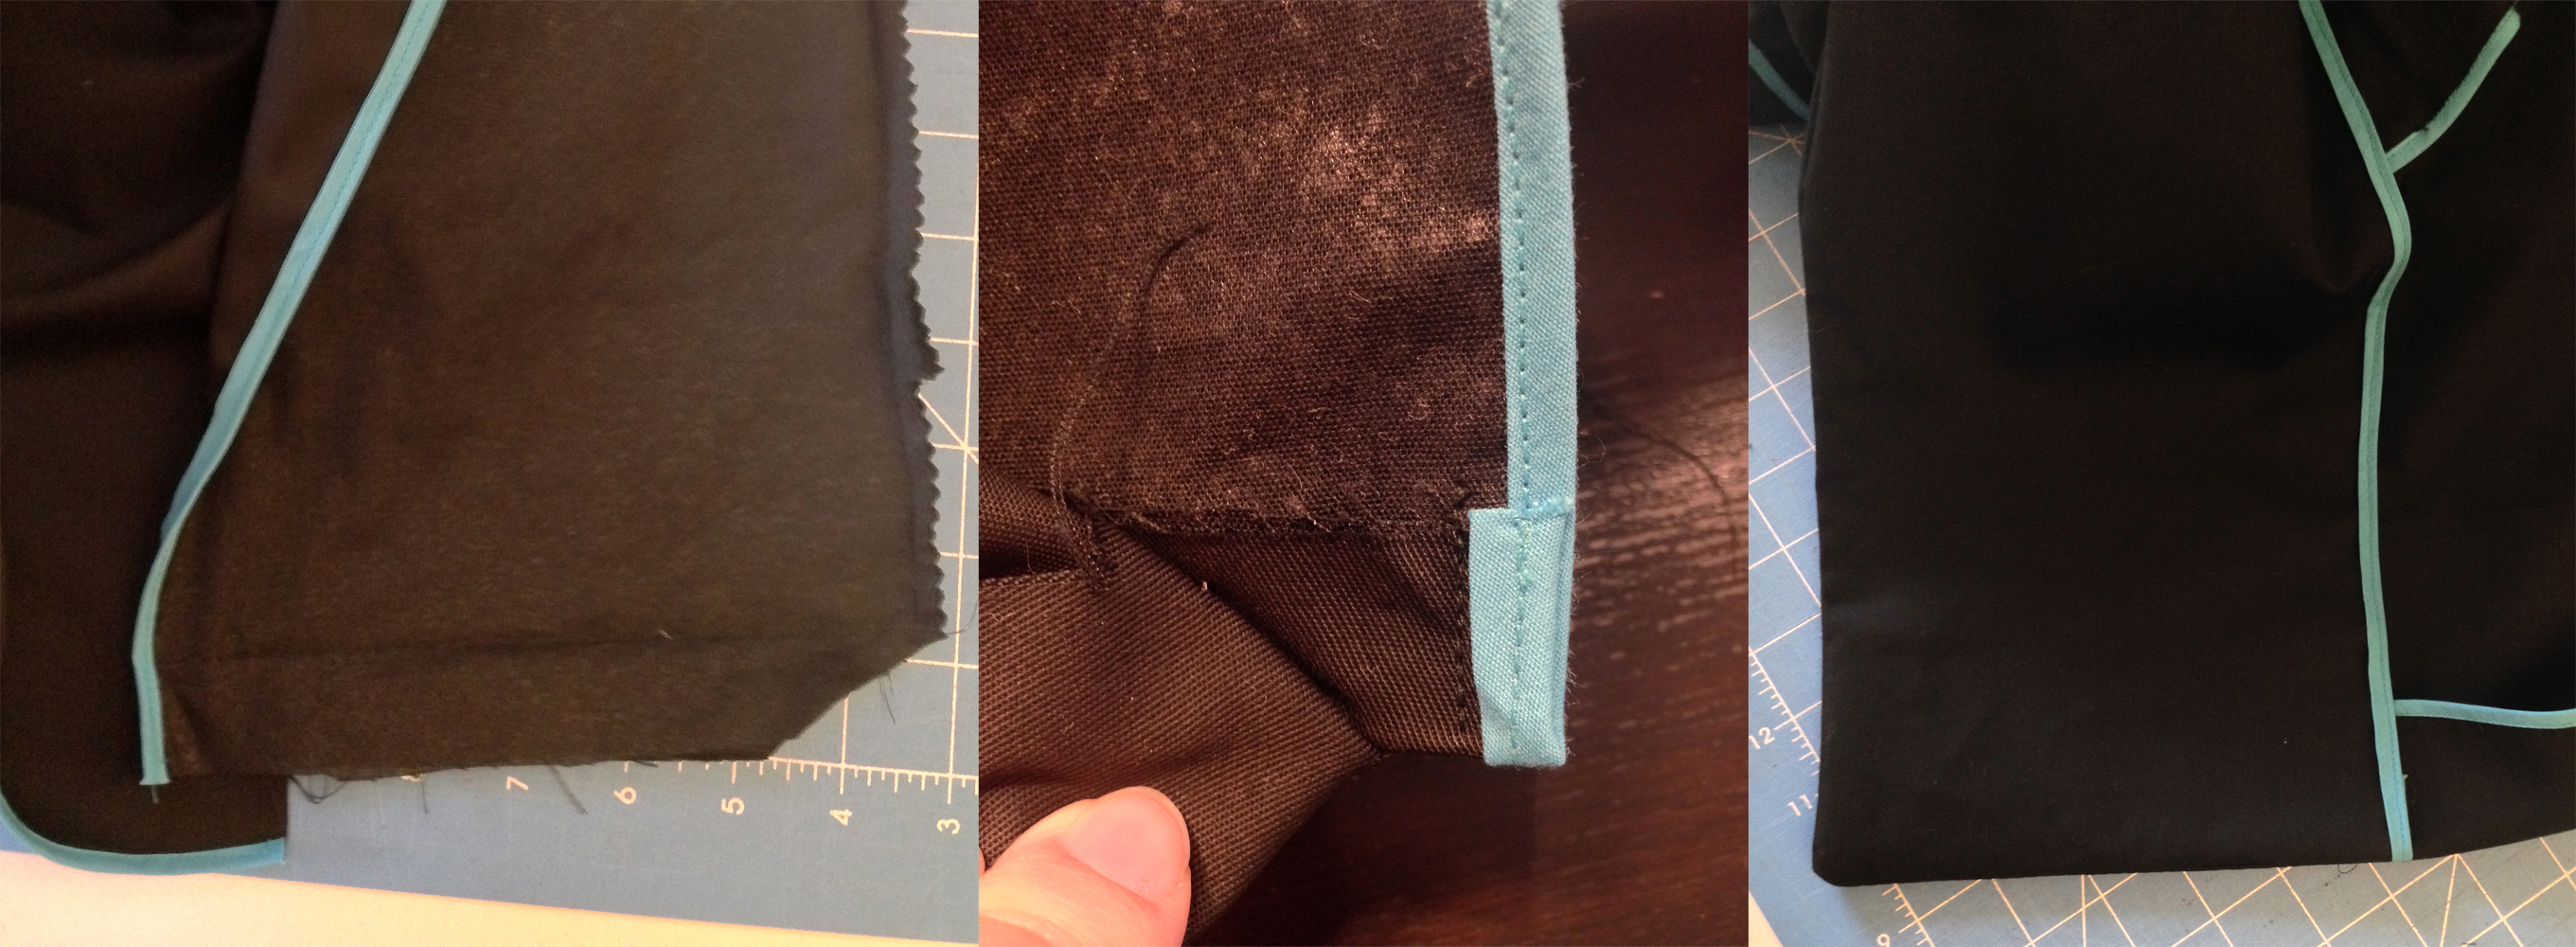
Above is how I did my hem. Sorry about the quality of the pictures, I was using my cell phone in obviously bad lighting. Anyways, I folded the coat with right sides together and sewed just under 1″ seam allowance. I then turned it right side out and sewed the inner front piece biased tape section up to keep it in place. From there I did 2″ topstitching on the hem. I know that may not make any sense but if you are currently sewing this coat and on that step it should make some kind of sense. Hope that helps you out!
I searched all over the internet for tips on the hem but no one seemed to mention it. So again, it could just be me. All said and done, I really like how my hem came out. It looks very clean. Keep in mind when I did the 2″ hemline I made sure to sew right below the blue biased tape.
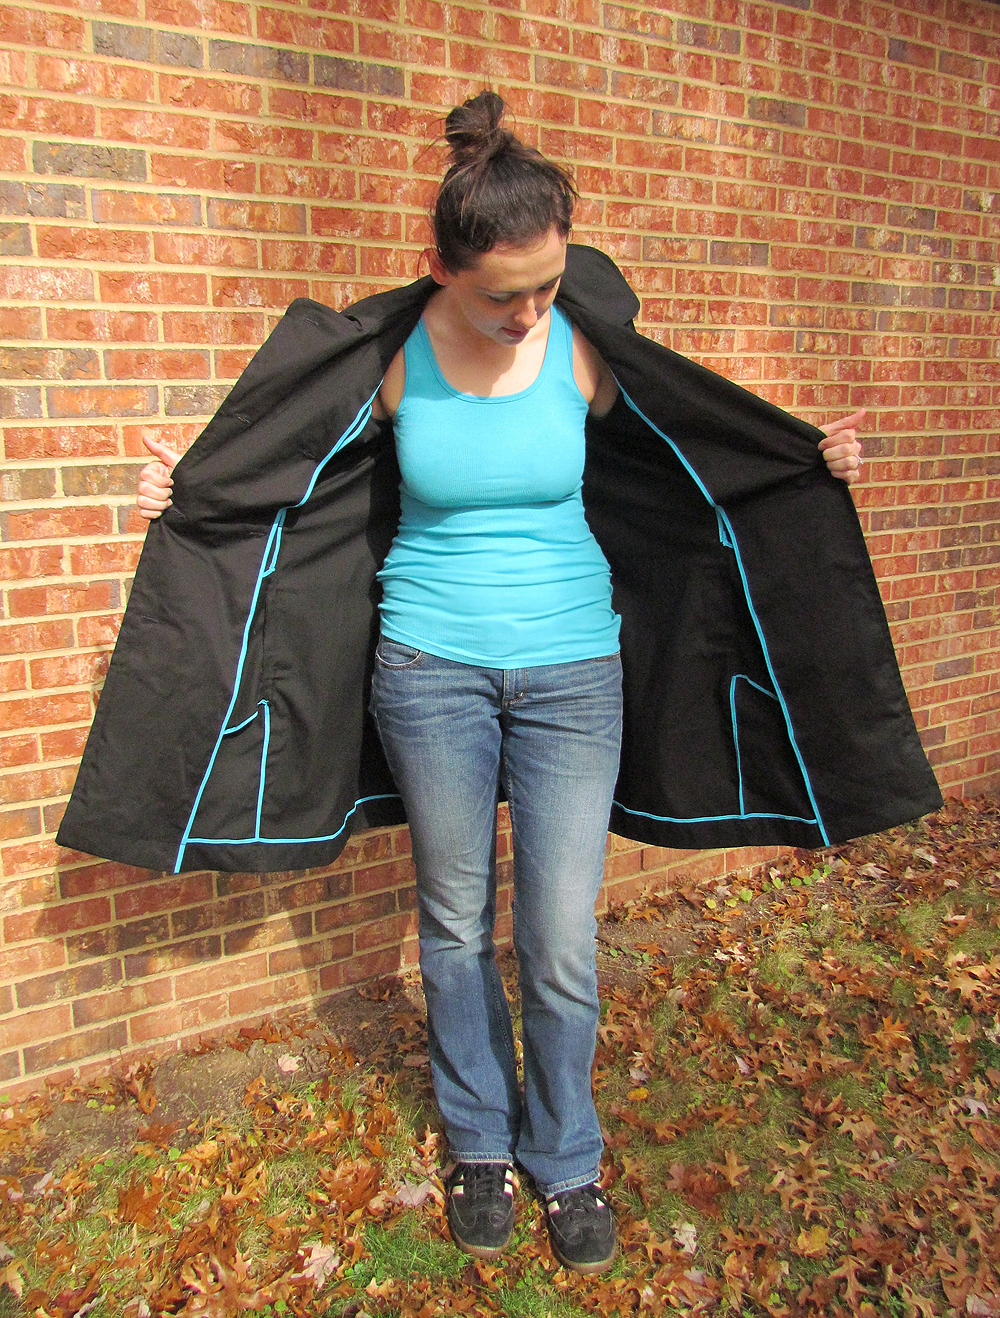
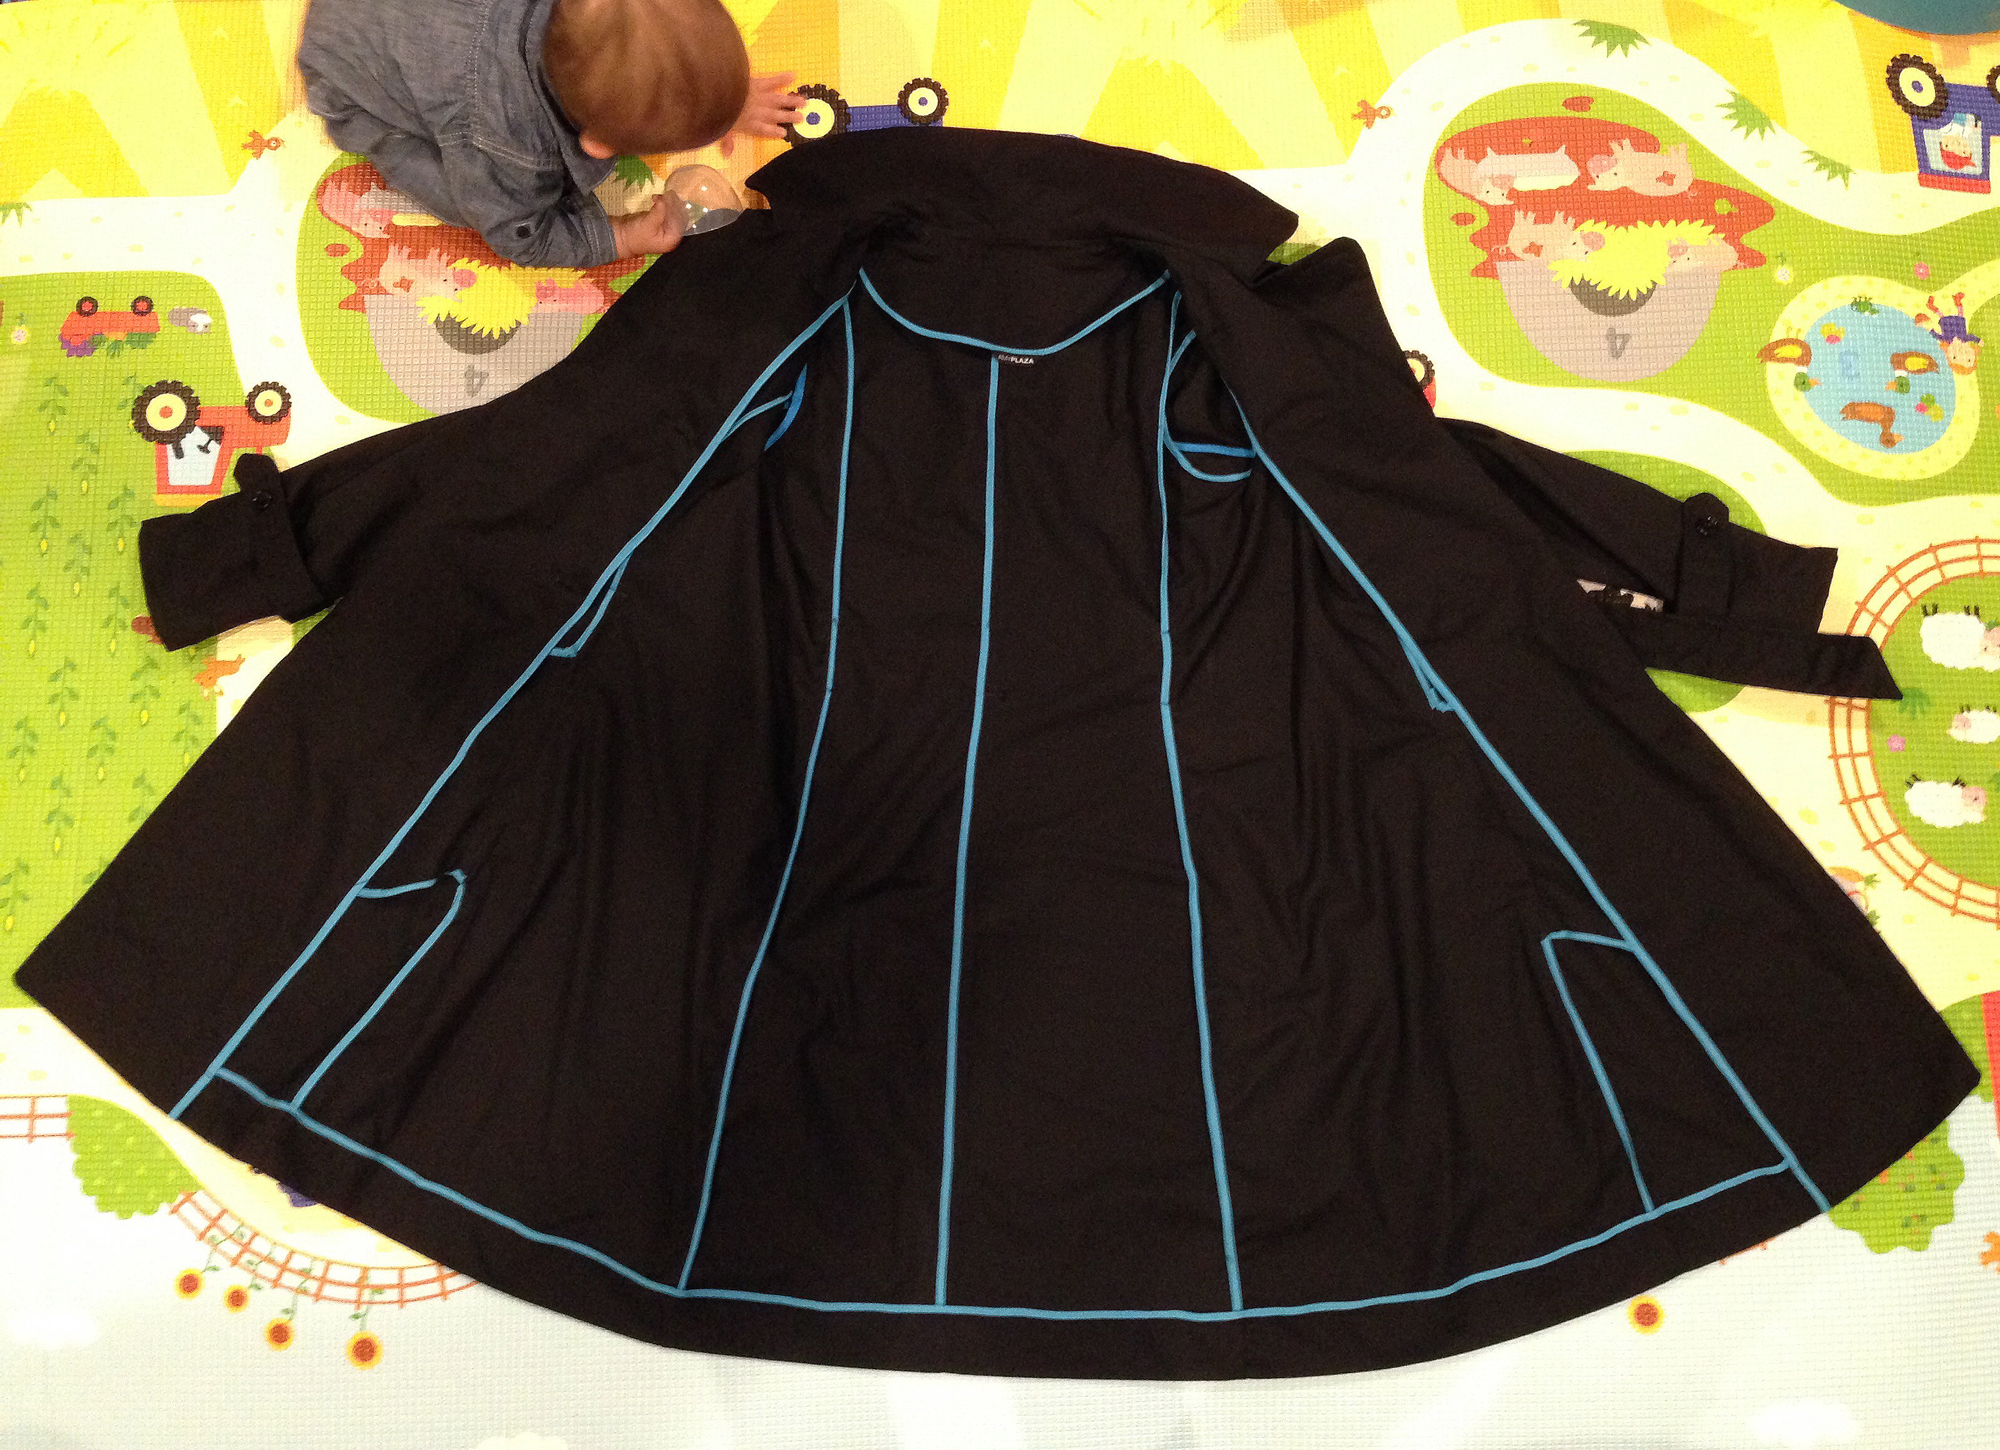
Even though I just spent 10 years rambling on about the hem – don’t let that deter you from making this coat! It really is a great pattern and coat. I love that it is unlined and you use bias tape to finish the edges. The biased tape can be a little tricky to sew on at times since it’s so skinny, but nothing too hard. I know there are also special feet that you can use, so that would make things quicker.
Sewing through all of the layers to add the buttons onto the epaulettes is a little bit hard -because there are so many layers. I would recommend paying attention to what you are doing, and not also watching television while sewing because this is what happened to me:
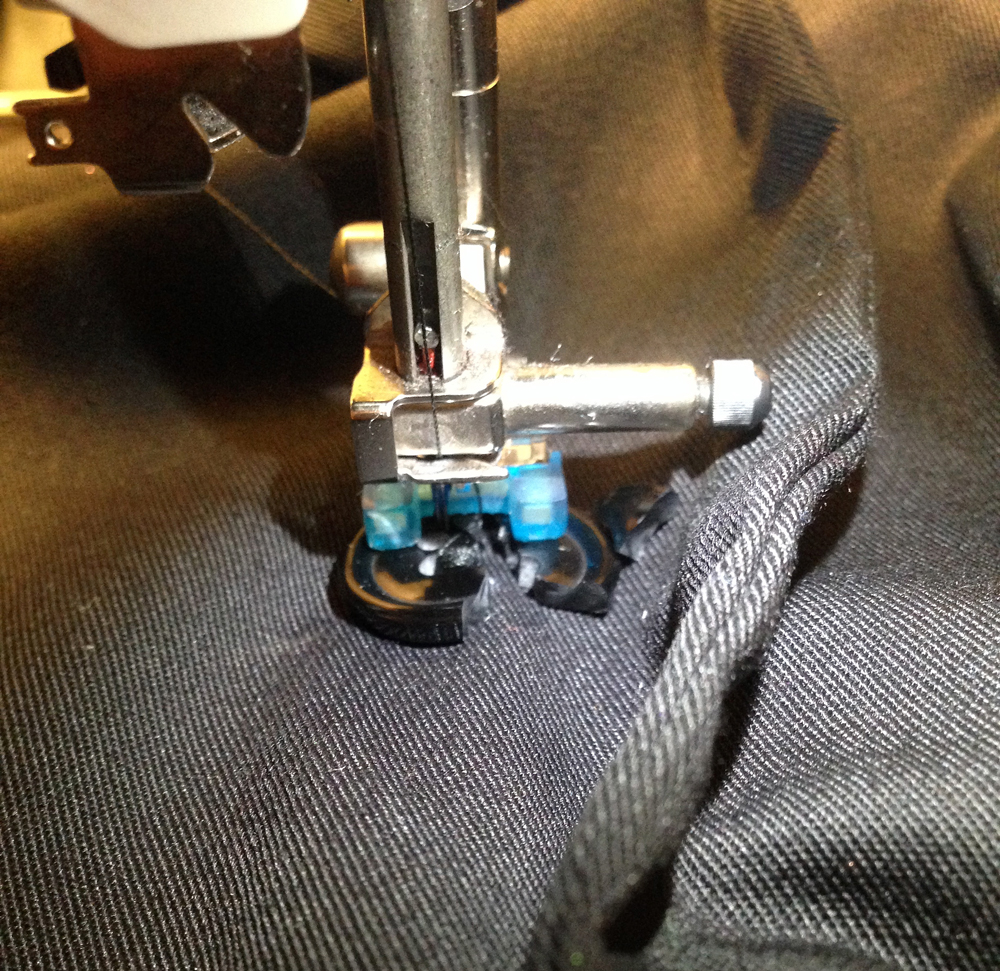
Shockingly enough that didn’t break the needle! I’m sure it dulled it a good bit though. The other little gotcha was on the buttonholes. I only had issues because the picture diagram showed half of the buttons on the left front and half on the right front. But the directions say to sew the buttonholes and then sew the buttons on the opposite side. I then realized that duh, the diagram is just showing you that you can pick if you want the front overlapping layer to be the right or left side. I’m telling you, lack of sleep really screws with your common sense!
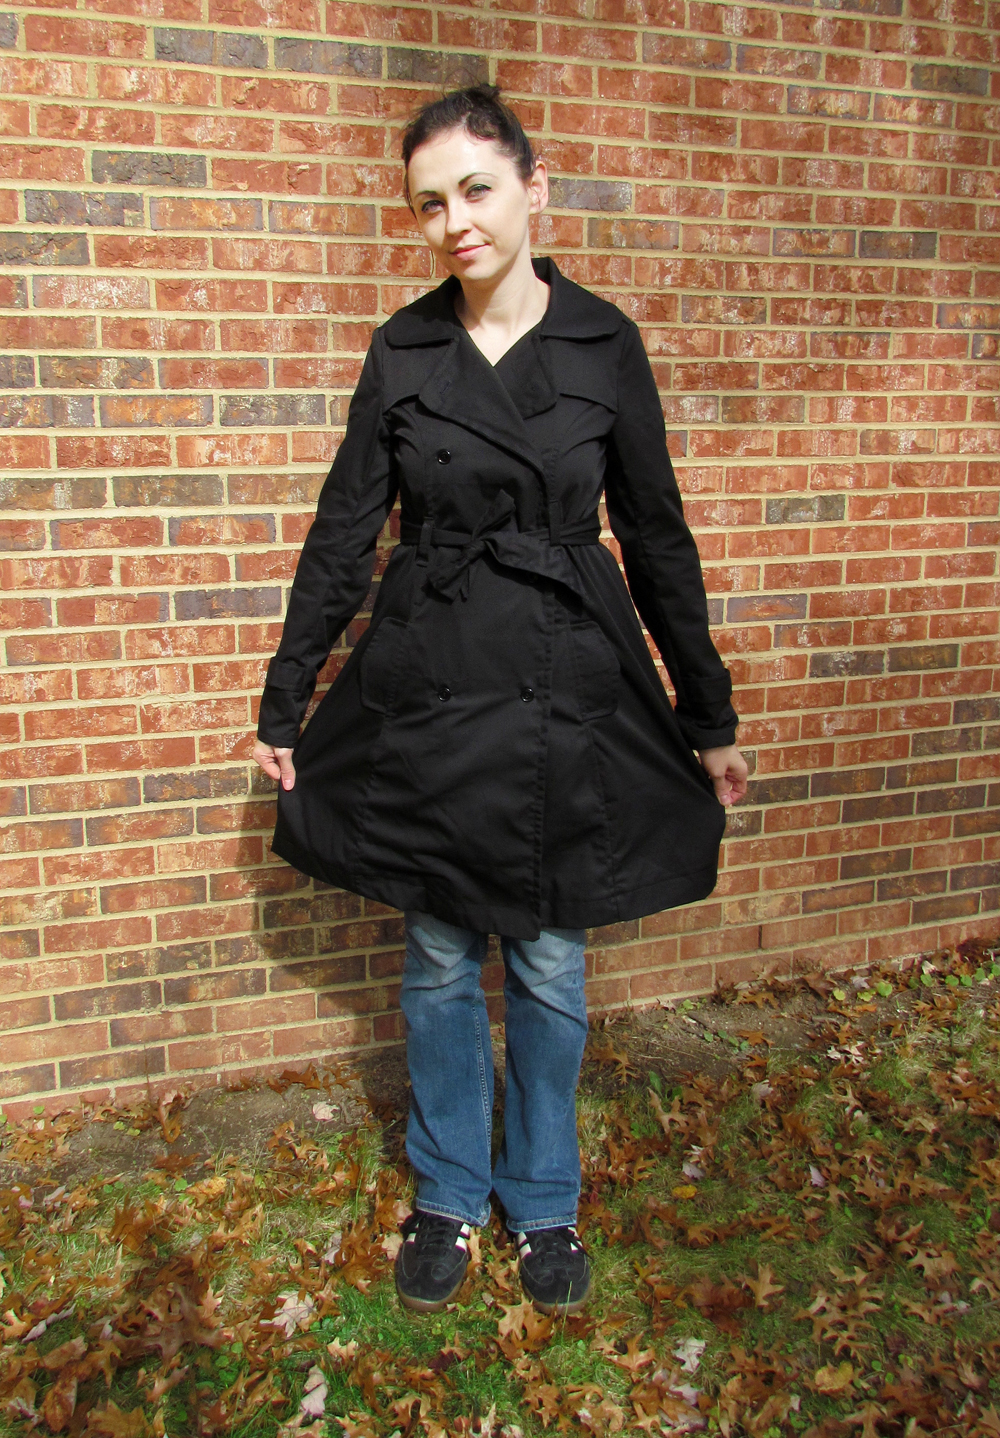
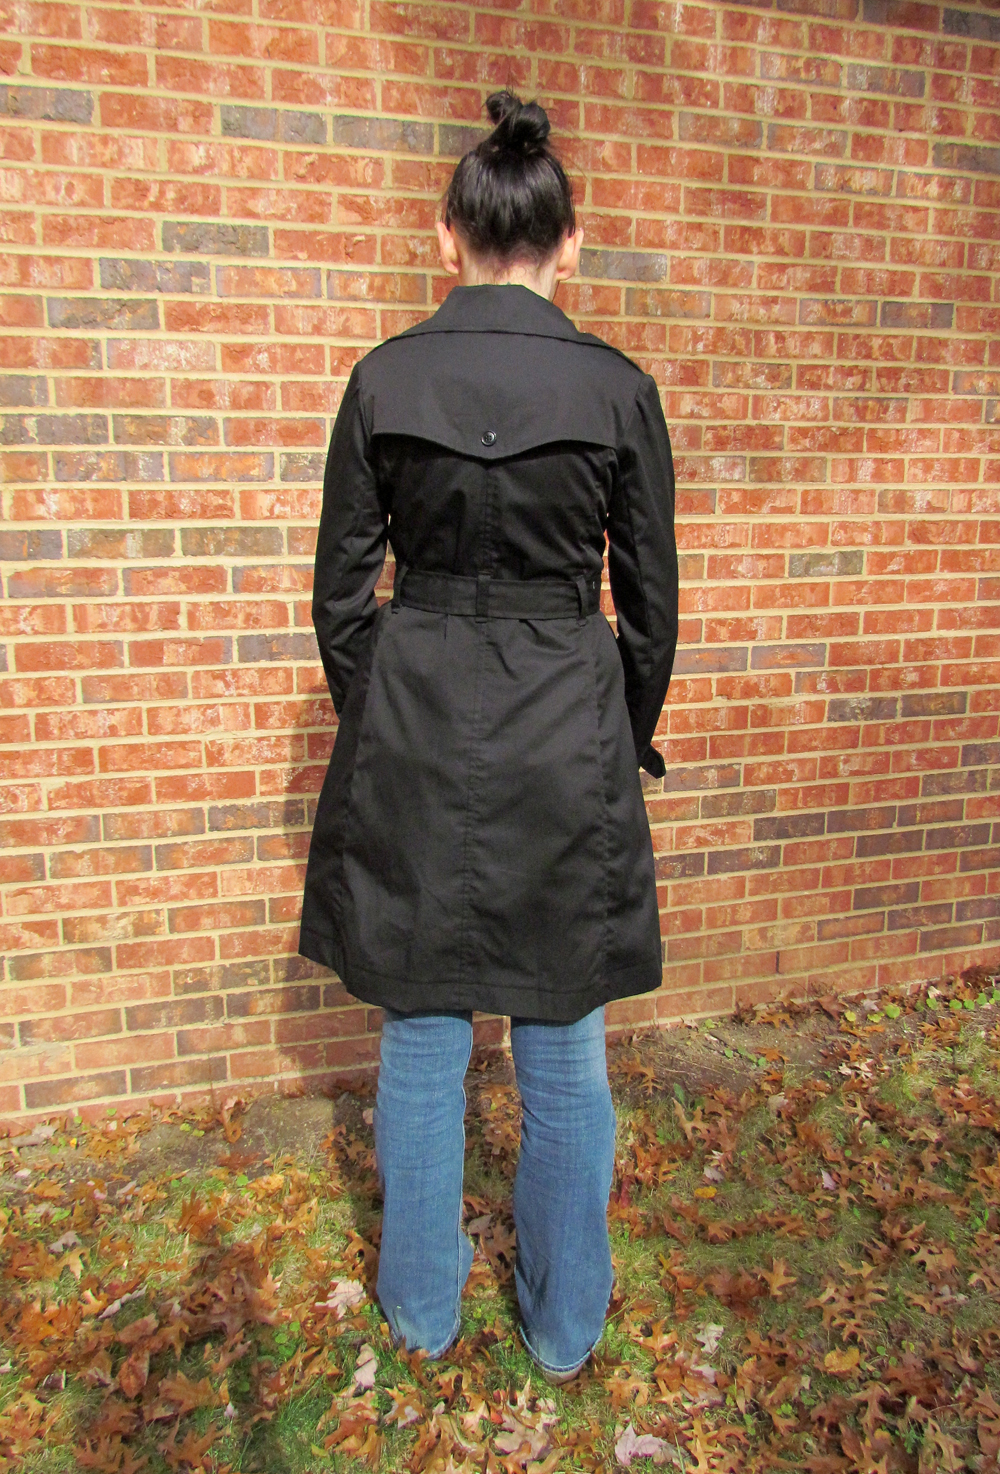
I now realize that picking black fabric and black buttons makes it really hard to see any kind of detail in pictures – sorry about that! I honestly just wear a lot of black. Hopefully you can see some of the detail good enough to want to make this coat!
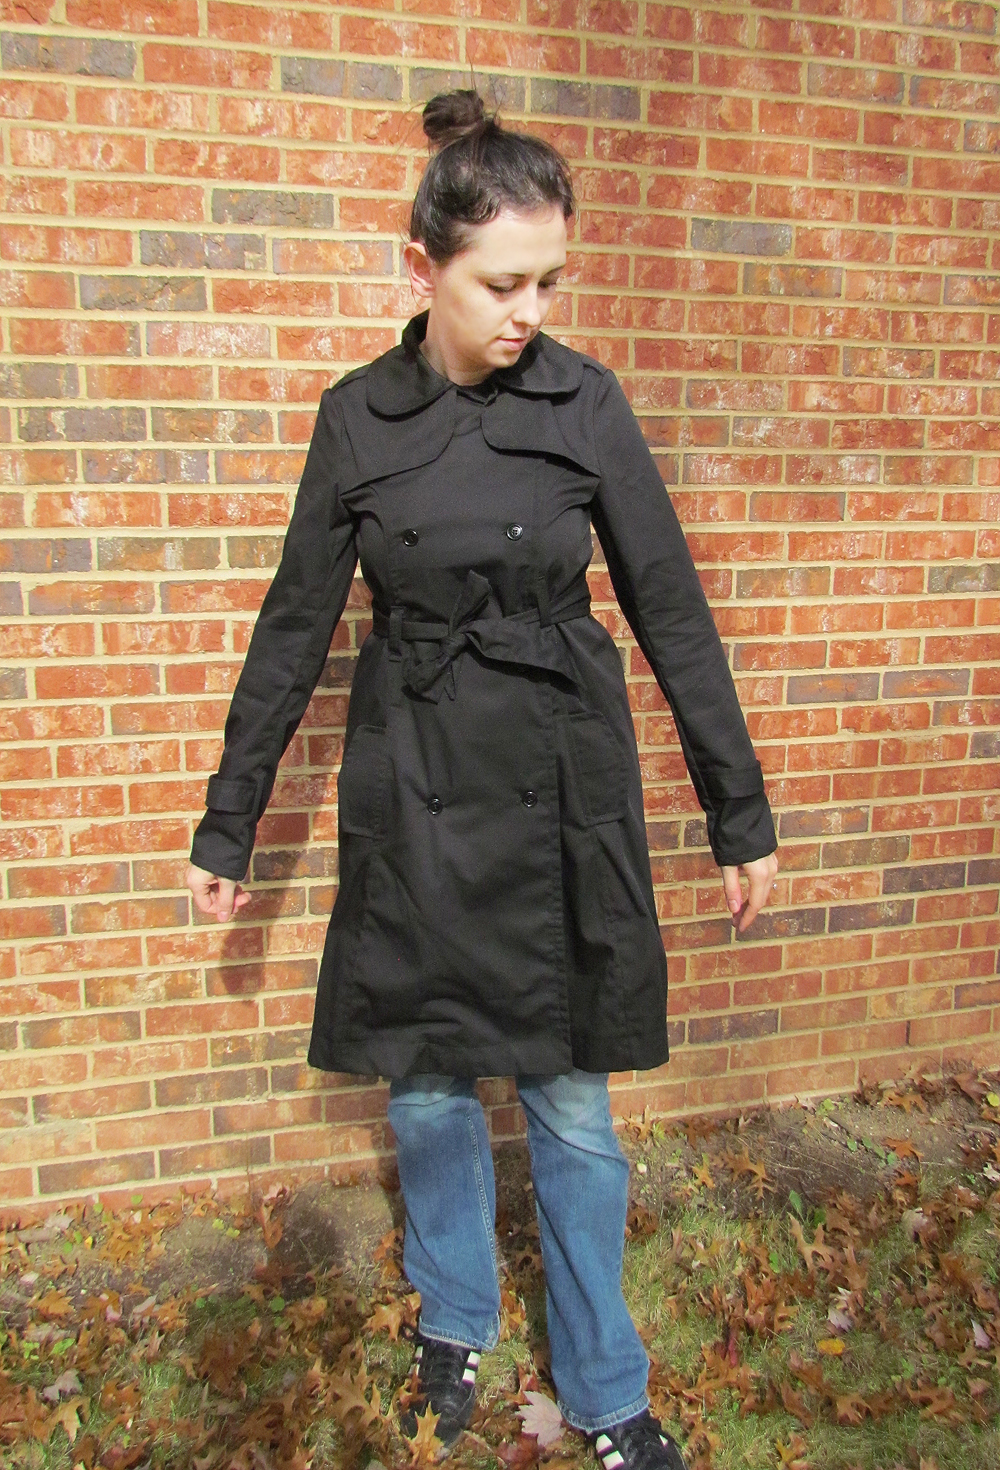
I was worried about the belt loops. I thought that was going to be super difficult, but it wasn’t. The hardest part was figuring out where I wanted them to go. I put the coat on and marked where my waist is, then picked a good place for one. From there I took a straight edge ruler and marked the rest of the loops. In the end I think I should have put them a tad bit lower, maybe 1/4″-1/2″, but it looks good. The pattern does have notches to tell you were to put them, but I apparently thought I knew better!

Lastly I would like to discuss the fabric. I choose a black gabardine fabric from Minerva. I’ve never used gabardine before and I love it. It’s so easy to cut and sew. I could see myself making another jacket with it or a pair of pants. I have a little bit left over and I think I’ll make baby Nico some pants.

If you’re still reading this you deserve a cookie, or margarita, or both! Coats are always a long post and will have some speed bumps along the way. Overall, I like this coat and have already been wearing it out. I love the how the biased tape looks and the blue makes it pop. This coat has so much detail. The topstitching makes it look more professional as does the epaulettes. I hope you like it and I hope you decide to make it!

I’ve always been intimidated by sewing coats too. I’ve been wanting a basic trench for awhile and ended up buying one because I was too scared to make it. I really like yours and will have to keep this pattern in mind if I ever decide to make one. I’ve sewn with gabardine before and it is awesome to work with!
It’s so scary!!! The only reason I don’t buy trench coats or nice fitted coats at the store is because the sleeves are always so short – drives me insane! I have 1 trench coat that fits perfectly (well, before baby body) and the sleeves are long, it’s a designer coat (L.A.M.B.) so I think that’s why.
Your coat looks great! I’ve always wanted to sew up this pattern but haven’t gotten around to it yet 🙂 Despite the problems you had with the hem, it sure turned out really professional!!
Thanks so much! You should definitely make it – it’s a great pattern and coat 🙂
Your coat is gorgeous! I love the blue bias tape, and the hem looks perfect to me.
Thanks! I loved the idea of having blue pop. I debated on patterned bias tape but in the end thought the blue would look really good.
The coat turned out so great. The blue bias tape really shows off the neat insides. Your efforts really paid off.
Thank you! Coats are always a lot of work but this one is worth it!
love this coat…..you did a great job….I seen it in person and it looks great….love u
Thank you Mom 🙂 And thanks for taking the pictures!