This is only the second quilt that I’ve ever made. The first one I will post about soon, it’s a crib sized quilt. I made both of these quilts at Jo-Ann Fabrics. They offer 4 Saturday classes in a row to complete it. I loved the idea of doing an entire project with an instructor and other sewists. I had so much fun that I ending up taking another class and this time moved up to this twin sized quilt.
Our instructor, Grace, was really great and instantly became a friend. She’s the same one who instructed the first quilting class. Now I want to take more quilting classes just to hang out with her and sew! (Hint: wait until they have a 50% off classes coupon to sign up!)
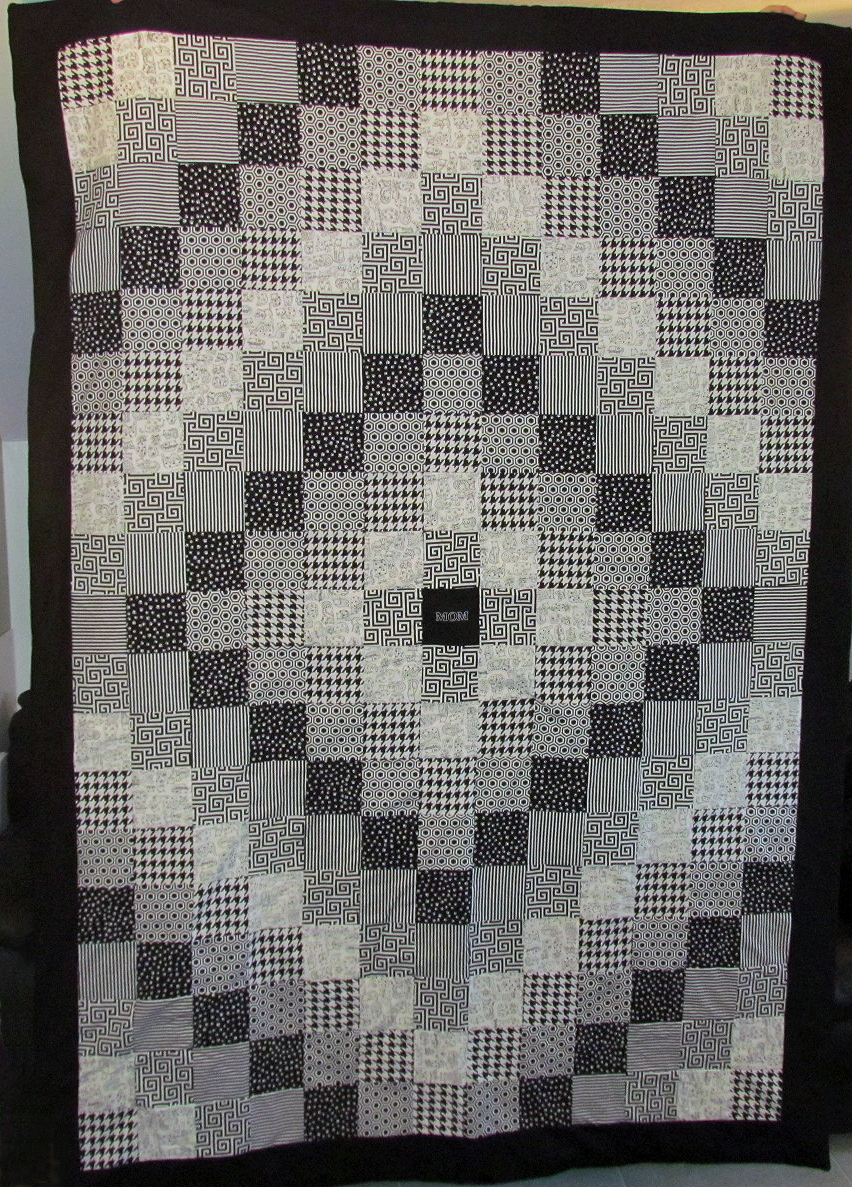
This is called the Trip Around The World quilt. When Grace first told us about the quilt I Googled it and instantly got intimidated! She swore that there is a very easy way to make it and she would help along the way. So I ordered the book by Eleanor Burns and signed up for the class!
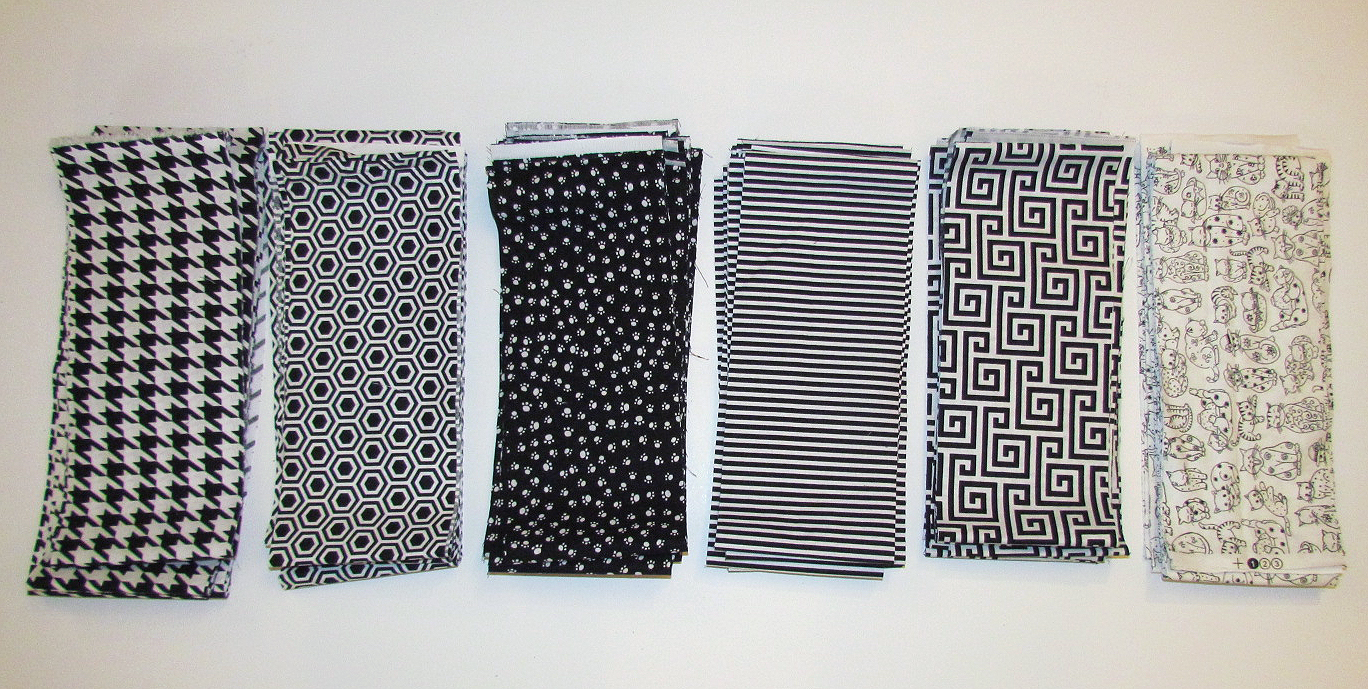
Here is a brief picture explanation of what makes this quilt so easy to make. First you cut the fabric into 4″ strips:
Next you sew those strips together:
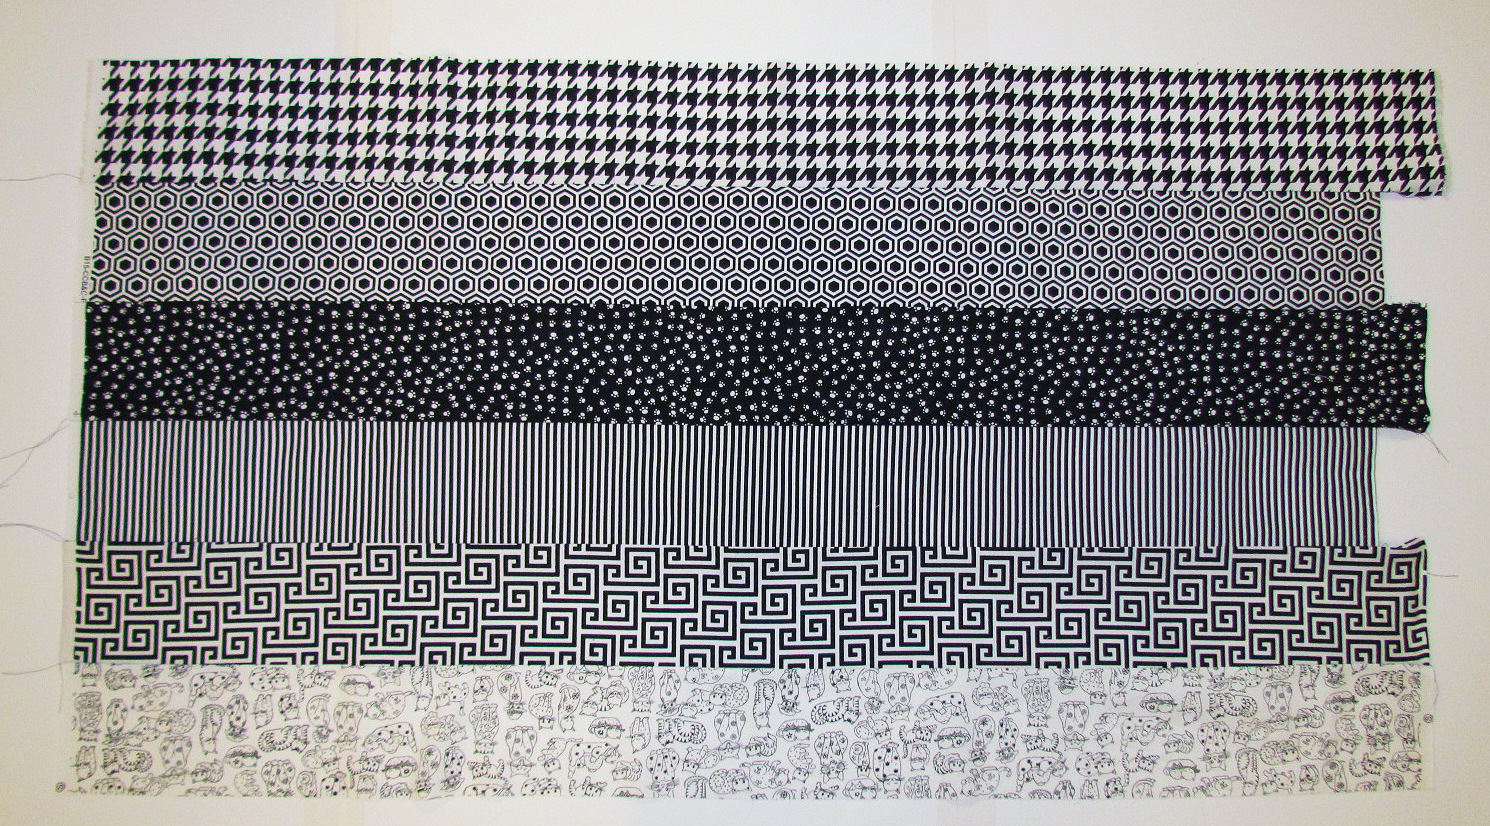
After you have the strips sewn together like the picture above, you sew the top and bottom strips together to make a tunnel:
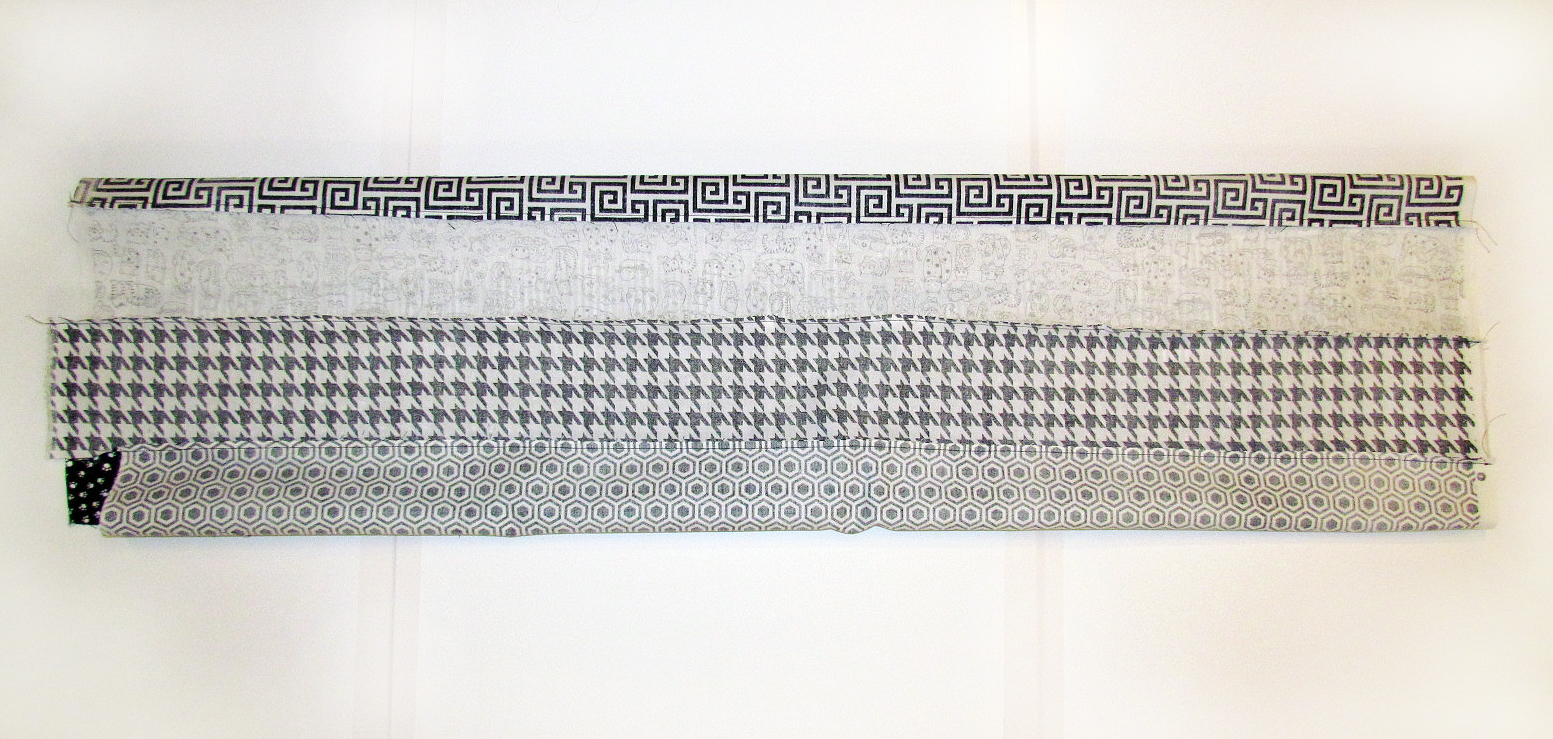
Now you just cut those at 4″ intervals:

Then you unpick so it’s not a tunnel anymore and lay the strip down flat. Now you line up the strips to sew them together. You need to have the book, or a smart head (in my case Grace), to figure out how to lay everything out and which strips to sew to other strips.
I won’t lie, I was going blind while sewing this!
This was my Mother’s Day gift to my Mom. I figured since I’m still new, even if I screwed it up she would have to love it – she’s my Mom! LOL She did really love it and was proud of all the work I did. If you look closely you can see where I embroidered “MOM” on the center square.
Now, I present to you – my crazy quilt!
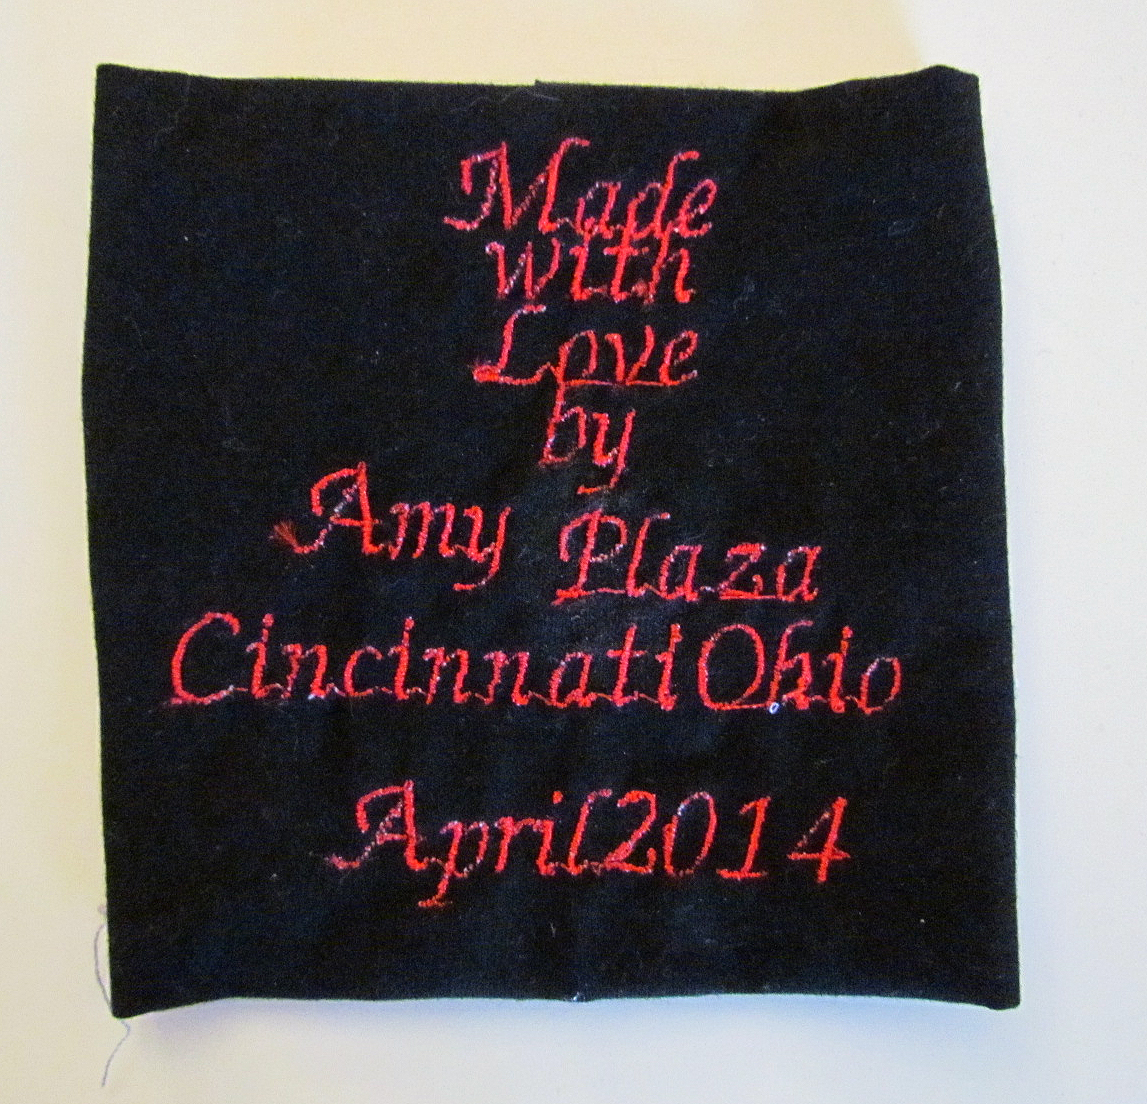
I wish the camera would have taken a clearer picture – but you get the point! I even made this to sew on the back for her. This was one of my first embroidery projects – you can tell LOL
Don’t you just love moms! My mom is my biggest supporter. Whether it’s something I made when I was 4 or 40, it’s always “beautiful”.
Yes!! I could tell she really did like it instead of pretending though LOL She’s scared to mess it up, so she hung it on her wall 😀
Terrific job! I can’t believe this was only your second quilt! You are gifted!
Hope you Mom enjoys her new quilt.
Laura
Thank you 🙂 I worked REALLY hard on matching everything up as perfectly as I possibly could. It was such a pain – but totally worth it. She loves it!
Hi Amy, I’ve been on your site many times but had not seen the post for the quilt. I love it. I’ve seen it at your Mom’s house and told her how pretty it was and how amazing you are with all your talents. I know she loves this quilt, and not only because you are her daughter. Anyway, thought I would leave a message and say what a great website you created to showcase all the beautiful and unique clothes you’ve made. Love you, Aunt Theresa
Thank you!!! I’m glad she kept it LOL I put a lot of love into it 🙂 I love you too and thanks so much!